作为大学作业的一部分,我正在研究攻击者绕过 chroot 监狱的方法。当然,我已经看到有很多方法可以尝试使用易受攻击的 setuid 可执行文件、肮脏的牛和其他使逃脱监狱变得微不足道的漏洞来提升权限。
但是,我很好奇攻击者是否有任何方法可以在留在 chroot 监狱中的同时破坏系统。因为据我所知,chroot 从未打算用作沙盒工具,所以我觉得情况可能如此。
比如在chroot jail中发射的fork炸弹会不会消耗系统的进程空间?由于 chroot 仅更改听起来可能的目录的可见范围。
作为大学作业的一部分,我正在研究攻击者绕过 chroot 监狱的方法。当然,我已经看到有很多方法可以尝试使用易受攻击的 setuid 可执行文件、肮脏的牛和其他使逃脱监狱变得微不足道的漏洞来提升权限。
但是,我很好奇攻击者是否有任何方法可以在留在 chroot 监狱中的同时破坏系统。因为据我所知,chroot 从未打算用作沙盒工具,所以我觉得情况可能如此。
比如在chroot jail中发射的fork炸弹会不会消耗系统的进程空间?由于 chroot 仅更改听起来可能的目录的可见范围。
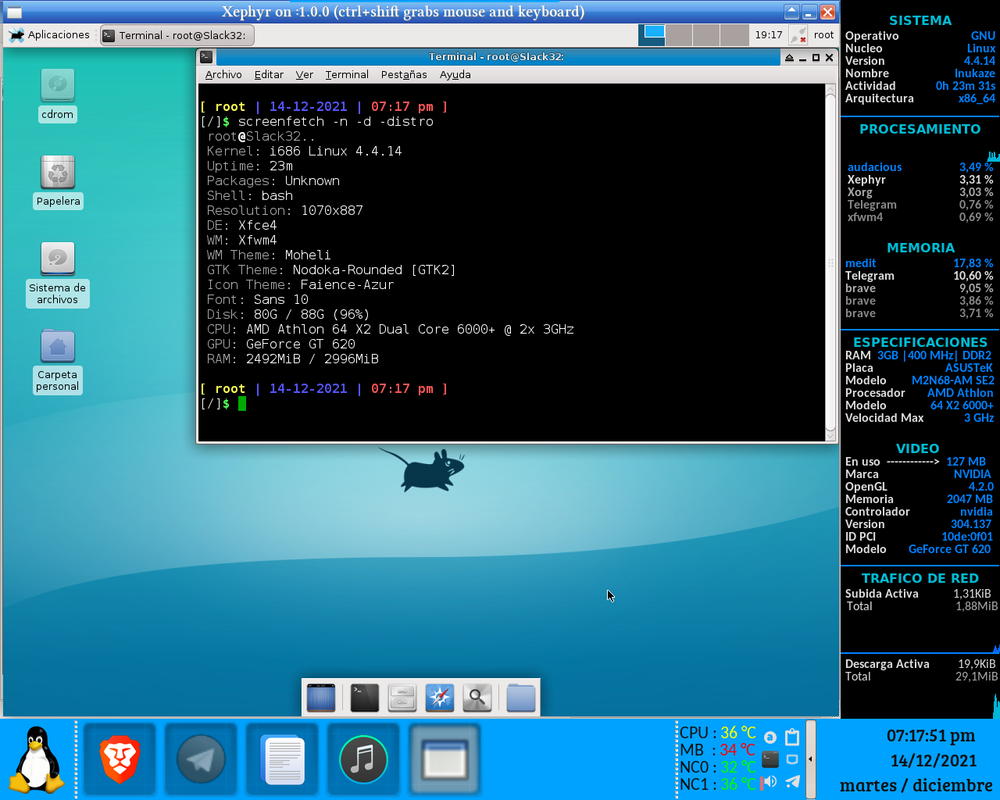
只是为了更容易挂载我的 Slackware 14.2 安装,我把它放在另一个分区上(它是 32 位 100% 真正的原生)。
我可以像 root 用户一样启动 xfce4-session(但这不是我需要的):
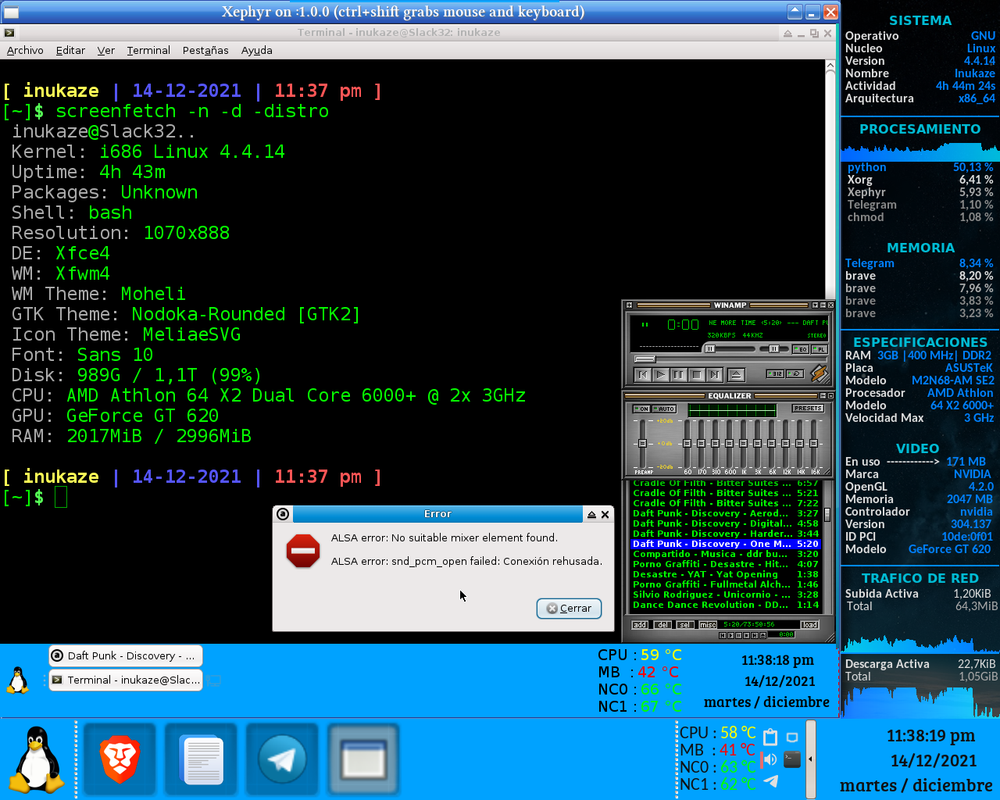
我需要知道是否有人可以帮助我解决以下问题
1 - 将音频重定向到主机,因为
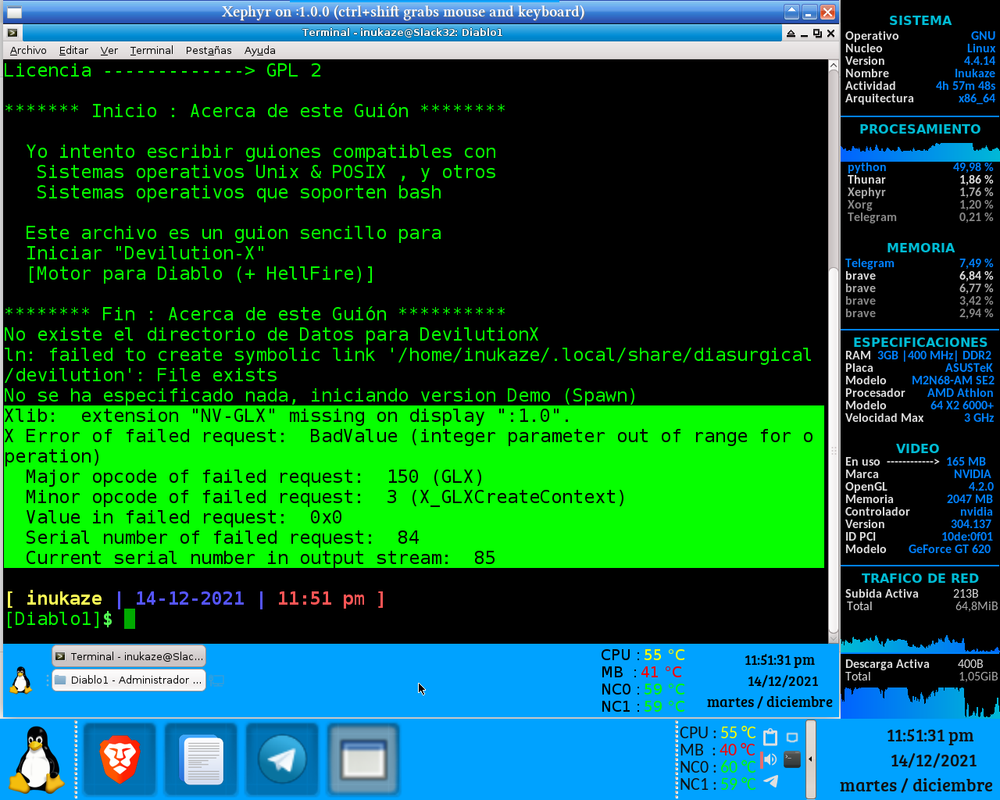
2 - 可以在 Nvidia 上使用 3D、DRI 吗?我在Gentoo论坛上看到了一些东西,但我不明白)
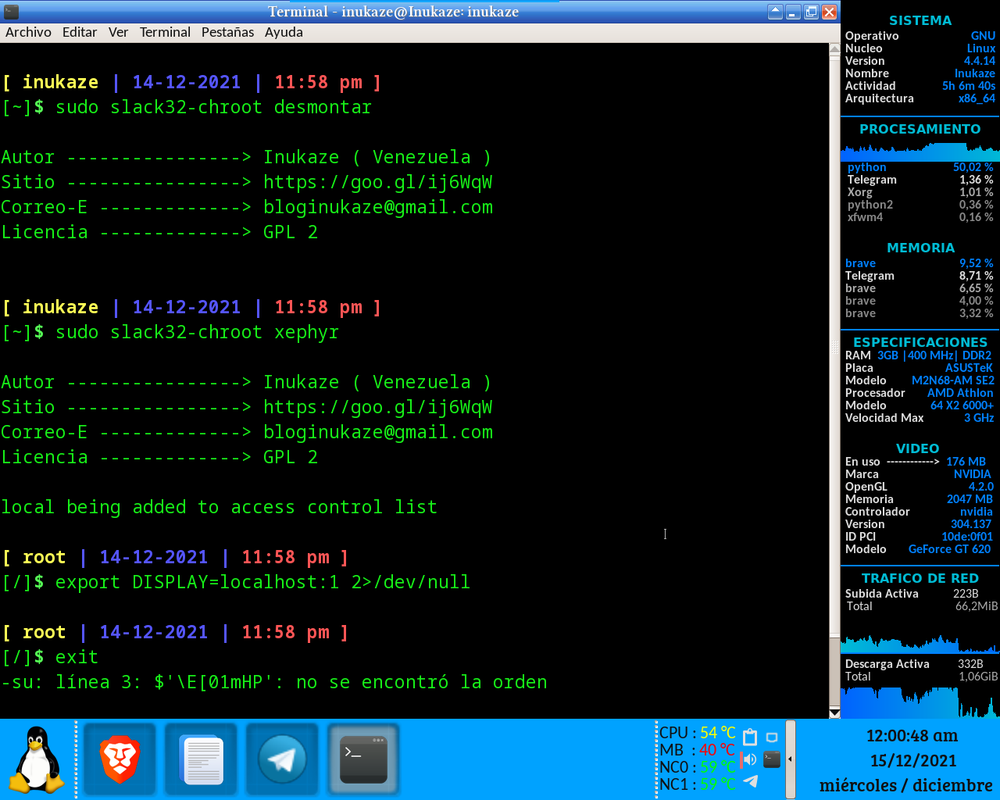
3 - 从我的脚本中隐藏一些命令和/或输出:这些行是:
local being added to access control list

export DISPLAY=localhost:1 2>/dev/null

exit
当我关闭 Xephyr 窗口时,这会在之后出现:
-su: línea 3: $'\E[01mHP': no se encontró la orden
我的脚本“slack32-chroot”内容:
#!/usr/bin/env bash

echo '
Autor ----------------> Inukaze ( Venezuela )
Sitio ----------------> https://goo.gl/ij6WqW
Correo-E -------------> [email protected]
Licencia -------------> GPL 2
'
#Establecer mediante la variable "$OBJETIVO"
#La particion con una distribucion a la cual se accedera mediante chroot
export OBJETIVO="/media/Slack32"

#Prevenir que se autoejecuten las funciones que se definiran despues
unset montar
unset desmontar
unset MensajeBase

#Establecer y definir funciones :
function MensajeBase()
{
echo -e "\nLa forma correcta de utilizar este guion es :\n$0 «montar» , «montar_xephyr» ó «desmontar», Por ejemplo : \n"
echo -e "$0 montar"
echo -e "$0 montar_xephyr"
echo -e "$0 desmontar\n"
}

function montar(){
#Preparar acceso para programas de entorno grafico :
export DISPLAY=:0.0 2>/dev/null
xhost + local 2>/dev/null

#Montar todo de una vez para una distro de 32 Bits (En este caso Slackware32 14.2) :
mount --rbind /proc                         "$OBJETIVO/proc"                        ; \
mount --make-rslave                         "$OBJETIVO/proc"                        ; \
mount --rbind /sys                              "$OBJETIVO/sys"                         ; \
mount --make-rslave                         "$OBJETIVO/sys"                         ; \
mount --rbind /dev                          "$OBJETIVO/dev"                         ; \
mount --make-rslave                         "$OBJETIVO/dev"                         ; \
mount --rbind /run                              "$OBJETIVO/run"                         ; \
mount --make-rslave                         "$OBJETIVO/run"                         ; \
mount --rbind /tmp                          "$OBJETIVO/tmp"                         ; \
mount --make-rslave                         "$OBJETIVO/tmp"                         ; \
mount --bind /etc/fstab                     "$OBJETIVO/etc/fstab"                   ; \
mount --bind /etc/hostname          "$OBJETIVO/etc/hostname"        ; \
mount --bind /etc/hosts                     "$OBJETIVO/etc/hosts"               ; \
mount --bind /etc/resolv.conf           "$OBJETIVO/etc/resolv.conf"     ; \

cat << EOF | linux32 chroot "$OBJETIVO"
export DISPLAY=localhost:1 2>/dev/null
EOF

linux32 chroot                                  "$OBJETIVO" /bin/bash -l                ; \
umount -l                                           "$OBJETIVO"                                 ; \
mount -a 2>/dev/null
}


function xephyr(){
#Copiar archivo de autorizacion X.Org :
rm -f "$OBJETIVO/home/inukaze/.Xauthority"
rm -f "$OBJETIVO/root/.Xauthority"
cp -f "/home/inukaze/.Xauthority" "$OBJETIVO/root/.Xauthority"
cp -f "/home/inukaze/.Xauthority" "$OBJETIVO/home/inukaze/.Xauthority"
chown inukaze:users "$OBJETIVO/home/inukaze/.Xauthority"

if [ ! -f "$OBJETIVO/etc/X11/Xwrapper.config" ] ; then
# Prevenir el error « /usr/libexec/Xorg.wrap: Only console users are allowed to run the X server »
echo '# Xwrapper.config (Debian X Window System server wrapper configuration file)
#
# This file was generated by the post-installation script of the x11-common
# package using values from the debconf database.
#
# See the Xwrapper.config(5) manual page for more information.
#
# This file is automatically updated on upgrades of the x11-common package
# *only* if it has not been modified since the last upgrade of that package.
#
# If you have edited this file but would like it to be automatically updated
# again, run the following command as root:
#   dpkg-reconfigure x11-common
#allowed_users=console
allowed_users=anybody' | tee "$OBJETIVO/etc/X11/Xwrapper.config"
fi

#Preparar acceso para programas de entorno grafico :
export DISPLAY=:0.0 2>/dev/null
xhost + local 2>/dev/null

#Montar todo de una vez para una distro de 32 Bits (En este caso Slackware32 14.2) :
mount --rbind /proc                         "$OBJETIVO/proc"                        ; \
mount --make-rslave                         "$OBJETIVO/proc"                        ; \
mount --rbind /sys                              "$OBJETIVO/sys"                         ; \
mount --make-rslave                         "$OBJETIVO/sys"                         ; \
mount --rbind /dev                          "$OBJETIVO/dev"                         ; \
mount --make-rslave                         "$OBJETIVO/dev"                         ; \
mount --rbind /run                              "$OBJETIVO/run"                         ; \
mount --make-rslave                         "$OBJETIVO/run"                         ; \
mount --rbind /tmp                          "$OBJETIVO/tmp"                         ; \
mount --make-rslave                         "$OBJETIVO/tmp"                         ; \
mount --bind /etc/fstab                     "$OBJETIVO/etc/fstab"                   ; \
mount --bind /etc/hostname          "$OBJETIVO/etc/hostname"        ; \
mount --bind /etc/hosts                     "$OBJETIVO/etc/hosts"               ; \
mount --bind /etc/resolv.conf           "$OBJETIVO/etc/resolv.conf"     ; \

cat << EOF | linux32 chroot "$OBJETIVO"
export DISPLAY=localhost:1 2>/dev/null
EOF

linux32 chroot                                  "$OBJETIVO" /bin/bash -l        <<"EOT"
#Primero Detectar Particiones, Crear Directorios dentro de /media y finalmente montarlas
#Nombre De Particion :
#   NPD1="1SlackIni"    # Esta es la particion /boot de la particion que estoy usando en chroot
    NPD2="72GB"
    NPD3="Compartido"
    NPD4="2SlackIni"
#   NPD5="Slack64"  #Esta es la particion Anfrition, asi que realmente no la necesito para esto.
#   NPD6="Slack32"  #Esta es la que estoy usando en chroot
    NPD7="2Compartir"
#Parte de la Particion
#   PPD1=$(blkid | grep "$NPD1" | cut -c01-09)
    PPD2=$(blkid | grep "$NPD2" | cut -c01-09)
    PPD3=$(blkid | grep "$NPD3" | cut -c01-09)
    PPD4=$(blkid | grep "$NPD4" | cut -c01-09)
#   PPD5=$(blkid | grep "$NPD5" | cut -c01-09)
#   PPD6=$(blkid | grep "$NPD6" | cut -c01-09)
    PPD7=$(blkid | grep "$NPD7" | cut -c01-09)
$(mkdir -p /media/"$NPD2" ; mount "$PPD2" /media/"$NPD2" )
$(mkdir -p /media/"$NPD3" ; mount "$PPD3" /media/"$NPD3" )
$(mkdir -p /media/"$NPD4" ; mount "$PPD4" /media/"$NPD4" )
$(mkdir -p /media/"$NPD7" ; mount "$PPD7" /media/"$NPD7" )
$(su - inukaze)
$(Xephyr -ac -screen 1070x888 -br -reset -terminate :1.0 2>/dev/null &)
$(export DISPLAY=:1.0)
$(DISPLAY=:1 /usr/bin/xfce4-session -- :1 2>/dev/null)
EOT

umount -l                                           "$OBJETIVO"                                 ; \
mount -a 2>/dev/null
}

function desmontar(){
# Desmontar
umount -l           "$OBJETIVO"                         ; \
mount -a 2>/dev/null
}


#Este guión necesita ser ejecutado como SuperUsuario
#o en su defecto con permisos administrativos suficientes
#Para montar / desmontar particiones.
if [ "$(whoami)" != root ]; then

    echo
    echo
    echo 'Por favor ejecuta este guion como SuperUsuario (root)'
    echo
    echo 'Utilize este guión bajo su Propio Riesgro'
    echo 'El Autor , o sea yo , no me hago responsable'
    echo 'de las consecuencias imprevistas que puedan'
    echo 'acontecer en tu sistema operativo'
    echo
else
# Proceder en caso de tener los permisos suficientes para montar/desmontar particiones :

#Si el usuario no pasa ningun parametro indicar como se usa este guion
            if [ -z "$1" ]; then
                    MensajeBase
            fi

#Guion : Aqui se ha definido como se utilizara este guion correctamente para montar o desmontar la particion Objetivo
#Entrada : Cualquier palabra pasada por el parametro $1 sera convertida en minusculas
Entrada=$(echo "$1" | tr -s  '[:upper:]'  '[:lower:]')

            if [ "$Entrada" == "montar" ]; then
                    montar
            fi

            if [ "$Entrada" == "xephyr" ]; then
                    xephyr
            fi

            if [ "$Entrada" == "desmontar" ]; then
                    desmontar
            fi

#Finalizar la condicion globar de requerir usar el SuperUsuario o en su defectos persmisos administrativos
#Para poder (des)montar particiones :
fi

#Finalizar este guion sin problemas :
exit 0 2>/dev/null
我的笔记本电脑上有一个 64 位的 Debian 系统。我想 chroot 到一个 RasPiOS 系统(Raspberry Pi OS),但这个操作系统只有 32 位。当我尝试 chroot 时,出现以下错误:
# chroot /media/rpi /bin/bash
chroot: failed to run command ‘/bin/bash’: Exec format error

# ls -al /media/rpi/bin/bash
-rwxr-xr-x 1 root root 925124 2019-04-18 06:12:36 /media/rpi/bin/bash*
有人说这是因为 64 位和 32 位拱门不匹配。
那么有没有办法从 64 位主机 chroot 进入 32 位系统?
我有一个 chroot,我希望 chroot 在启动时有自己的.inputrc文件,然后运行一个程序。
我习惯用 chroot 启动,chroot <PATH> <PROGRAM_TO_RUN>所以我尝试了
chroot <PATH> bind -f <PATH_IN_CHROOT>/.inputrc && <PROGRAM_TO_RUN>
但后来我得到了错误:
chroot: failed to run command ‘bind’: No such file or directory
阅读readline手册后,我看到bind是bash内置的。所以我尝试使用builtin像这样运行命令:
chroot <PATH> builtin bind -f <PATH_IN_CHROOT>/.inputrc && <PROGRAM_TO_RUN>
但得到了同样的错误:
chroot: failed to run command ‘builtin’: No such file or directory
我知道通过 chroot 一起运行两个程序&&,因为我测试过:
~# chroot <PATH> echo "yo" && echo "Hi"
yo
Hi
~#
我也知道bind命令和builtin命令在 chroot 中独立工作:
~# chroot <PATH> bash
/# builtin -h
bash: builtin: -h: invalid option
builtin: usage: builtin [shell-builtin [arg ...]]
/# builtin bind -h
bash: bind: -h: invalid option
bind: usage: bind [-lpsvPSVX] [-m keymap] [-f filename] [-q name] [-u name] [-r keyseq] [-x keyseq:shell-command] [keyseq:readline-function or readline-command]
/# bind -h
bash: bind: -h: invalid option
bind: usage: bind [-lpsvPSVX] [-m keymap] [-f filename] [-q name] [-u name] [-r keyseq] [-x keyseq:shell-command] [keyseq:readline-function or readline-command]
如何在命令中运行bind命令,以便为 chrootchroot设置自定义?.inputrc
如果我做对了,chroot 会限制用户仅访问给定目录。看起来useradd有这个选项(Debian 10)。
# useradd --help | grep "chroot"
  -R, --root CHROOT_DIR         directory to chroot into
看起来很简单,但似乎没有人推荐它:
为什么?它是否不够便携或不够安全/可靠?
在 ArchLinux X86_64 中安装 qemu、qemu-arch-extra、qemu-user-static (AUR)。systemd 负责处理 binfmt,从/proc/sys/fs/binfmt_misc/. 从其网站下载 ArchLinux ARM 压缩包。直接链接是这个
http://os.archlinuxarm.org/os/ArchLinuxARM-aarch64-latest.tar.gz。sudo bsdtar -xpf使用命令将其提取到文件夹中。将文件复制
/usr/bin/qemu-aarch64-static到该文件夹中。Chroot 与arch-chroot.
在命令行中:
sudo pacman -S qemu qemu-arch-extra
sudo yay -S qemu-user-static
sudo bsdtar -xpf ArchLinuxARM-aarch64-latest.tar.gz -C folder
ls /proc/sys/fs/binfmt_misc/
sudo cp /usr/bin/qemu-aarch64-static folder/usr/bin
sudo arch-chroot folder
在 chrooted 环境中,我可以 ping 任何 IP 地址但不能 ping 任何远程主机(例如example.com),即名称解析不起作用。
/etc/resolv.conf文件已填充。ip显示正确的 NIC 配置。那么,如何在 chrooted ArchLinux ARM 中启用名称解析?我已经在 Ubuntu X86_64 中尝试了相同的过程,并将其 chroot 到 Ubuntu AARCH64。有用。
在安装 linux 发行版时,我发现了许多类型的 tar.gz 文件。但是我发现,几乎每个发行版(对于不同的架构)都有两个文件,分别用 minimum.tar.gz 和 full.tar.gz 表示,我安装了一个最小的文件,因为我没有那么多内存驱动器。最小和完整 chroot 之间的主要区别是什么?可以通过安装不同的软件包将最小的 chroot 变成完整的 chroot 吗?
我的脚本创建了一个chroot笼子来将 GRUB 安装到 USB,当然以 sudo 运行:
SYSTEM_DIRS=(etc bin sbin var lib lib64 usr proc sys dev tmp)

boot_partition=/media/user/boot

for dir in ${SYSTEM_DIRS[@]}; do
  mount --bind /$dir ${boot_partition}/${dir}
done
然后在里面执行一些命令chroot:
chroot ${boot_partition}/ touch foo # works fine
...
但是当我想执行命令时exit
chroot ${boot_partition}/ exit
我得到:
chroot: failed to execute the command <<exit>>: No such file or directory
为什么会发生这种情况并且有办法解决它?
我正在关注 ArchWiki 上的SFTP chroot wiki,发现了一个巨大的障碍:我无法让我的sftponly用户获得授权。
tail -2 /etc/passwd(我的 2 个用户)的输出:chris:x:1001:1002::/home/jail:/usr/bin/nologin
rick:x:1002:1002::/home/jail:/usr/bin/nologin
groups chris和的输出groups rick:sftponly
$ ls -l /home
total 24
drwxr-xr-x 3 root  root   4096 Jan  9 16:12 jail/

$ ls -l /home/jail
total 4
drwxrwxr-x 3 rick sftponly 4096 Jan  9 16:12 dropbox/
注意:该dropbox/目录归其所有的唯一原因rick是因为我正在尝试更改 chroot jail 目录中文件的所有权,因为这是我在广泛的谷歌搜索中读到的内容。我希望两者都chris能够rick编辑相同的文件。当我达到我什至可以登录的程度时,我将调查 facl 权限。
/etc/ssh/sshd_configSubsystem sftp /usr/lib/ssh/sftp-server
Match Group sftponly
ChrootDirectory %h
ForceCommand internal-sftp
AllowTcpForwarding no
X11Forwarding no
PasswordAuthentication yes
sftp rick@localhost当我尝试通过登录并输入密码时,从日志中:Jan 09 16:44:17 dell-dropbox sshd[688]: Failed password for rick from ::1 port 57410 ssh2
Jan 09 16:44:23 dell-dropbox sshd[688]: Failed password for rick from ::1 port 57410 ssh2
Jan 09 16:44:28 dell-dropbox sshd[688]: Failed password for rick from ::1 port 57410 ssh2
Jan 09 16:44:29 dell-dropbox sshd[688]: Connection closed by authenticating user rick ::1 port 57410 [preauth]
注意:他们都设置了密码。我输入的密码正确。我可以像我自己一样 sftp 没有任何问题。
我到底错过了什么?